Colab Tutorial
In this class, we will use Colab for the programming assignments since it provides a free GPU to every google account. Colab is compatible with Jupyter notebooks and it lets you write and execute Python code in your web browser. You won’t needing a GPU for the first assignment.
Colab provides a Tesla T4 (15079MiB) GPU with 64G disk space for every google account. It allows you to continuously run code for 12 hours. If you need more than 12 hours, you need to run your code again. It is like a server with your own space and environment.
How to Use Colab
Please upload or directly save the assignment folder on your google drive account. (For example, /My Drive/cs682/assignment1).
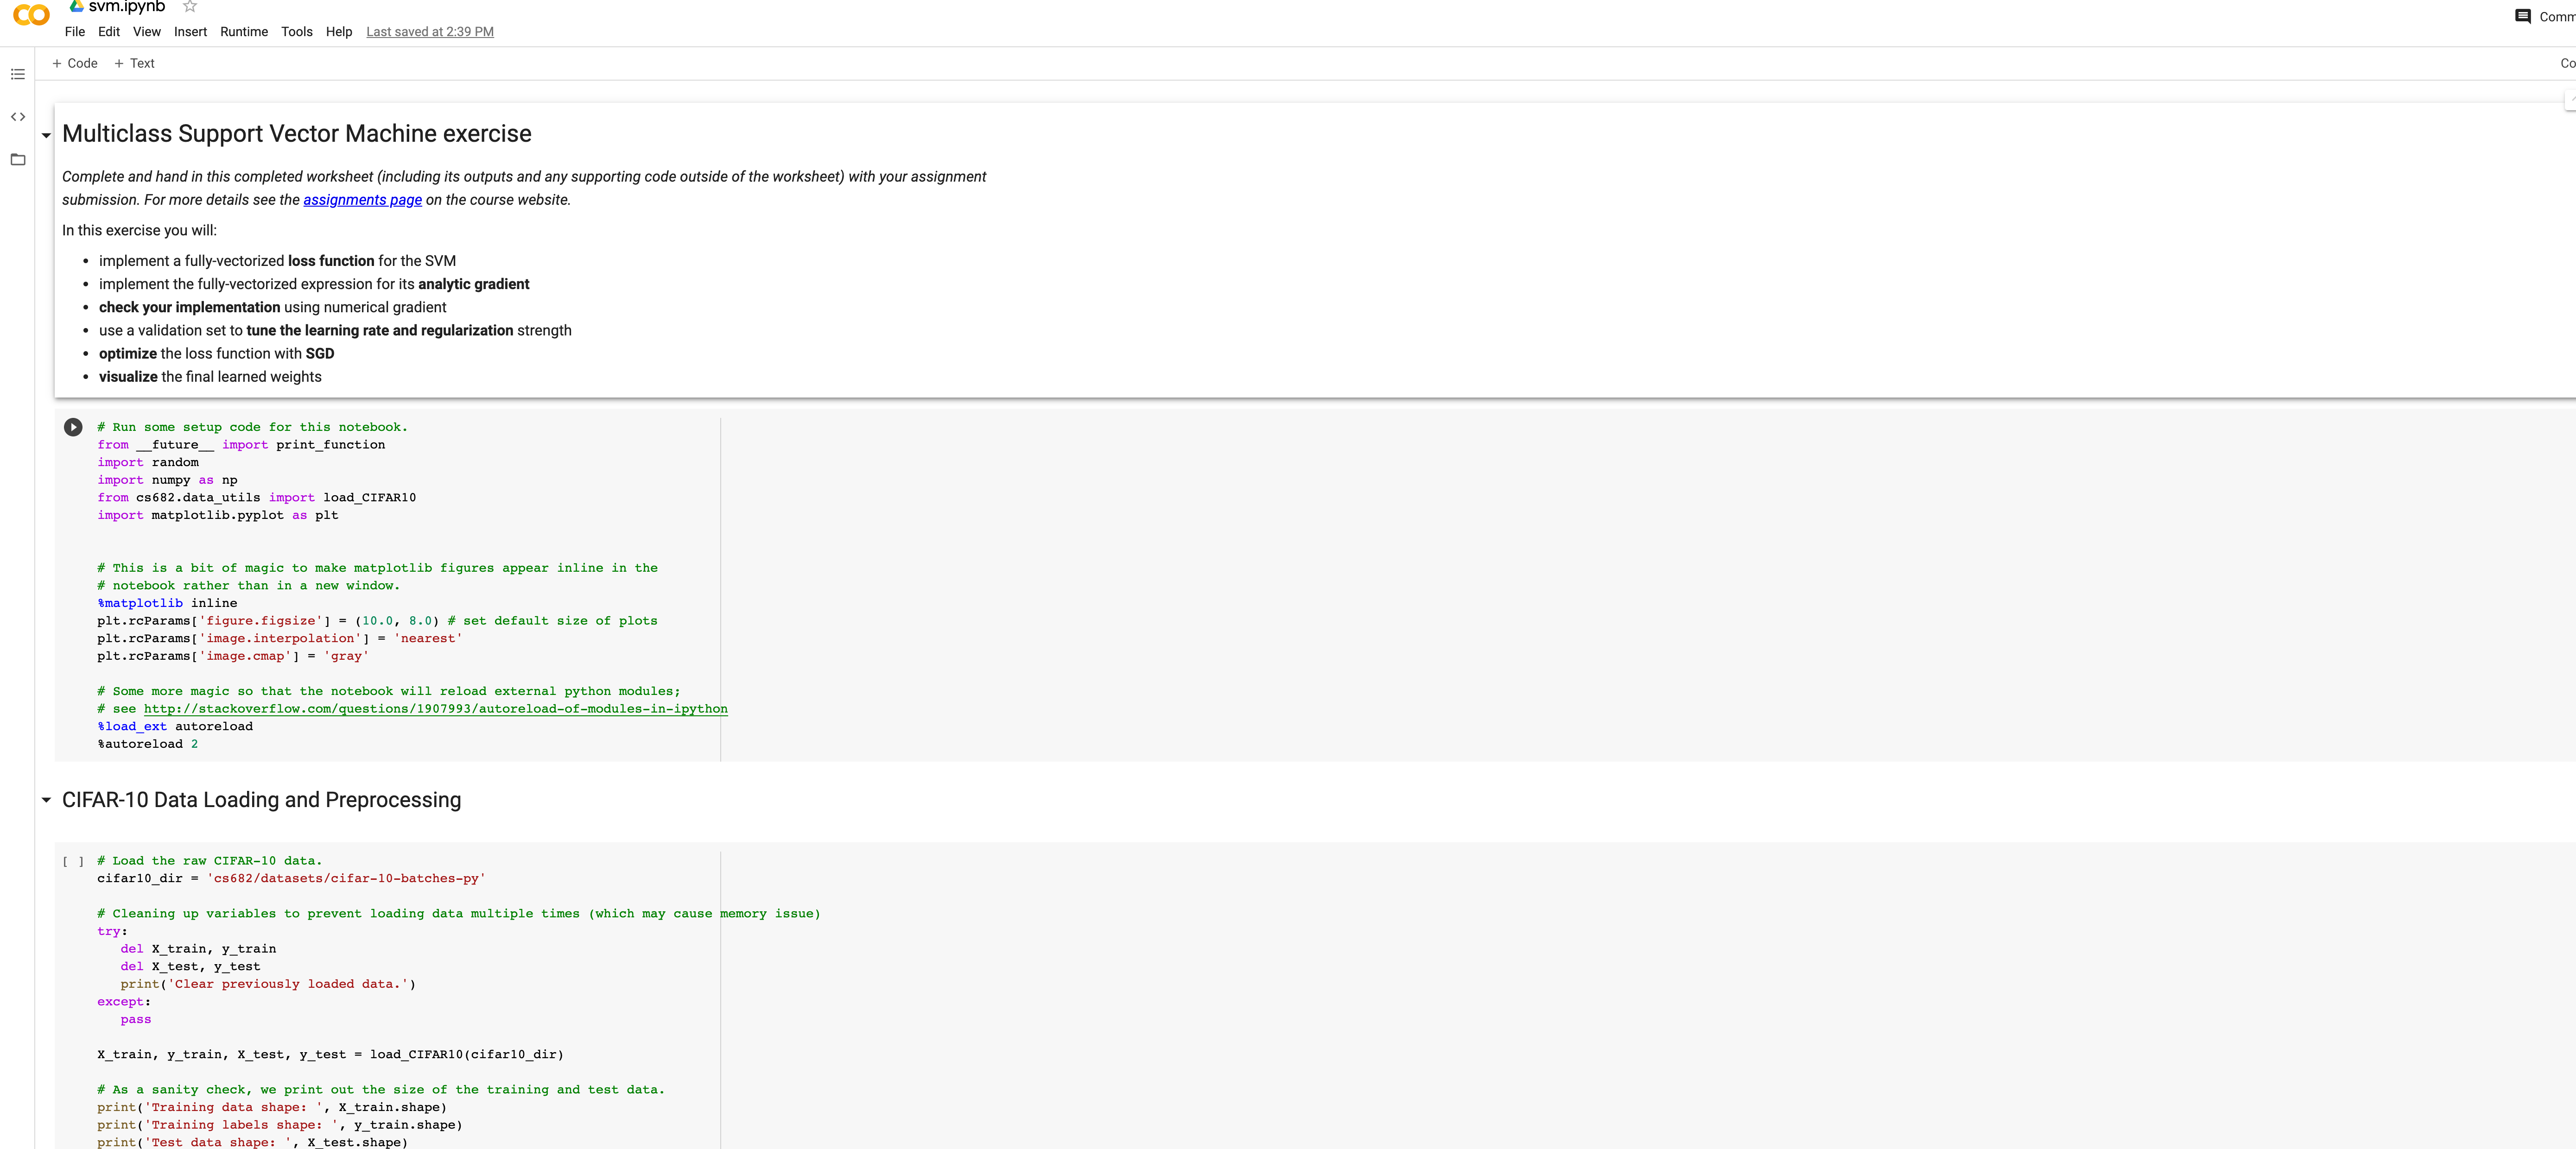
Go to your Google Drive account, then to to the assignment folder (for example: /cs682/assignment1), double click the Jupyter notebook that you want to execute (For example, svm.ipynb) and choose to open it with Colab.
You will see a screen like this:
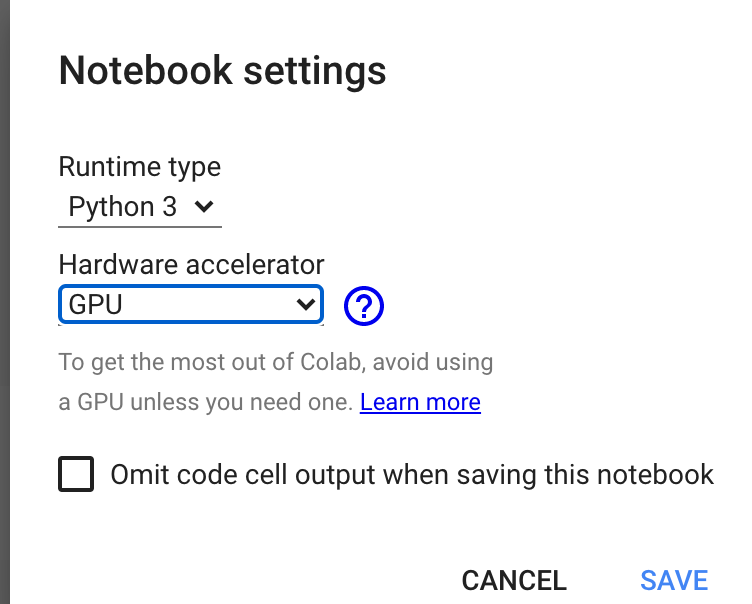
Now, we will show you how to activate a GPU.
Goto Edit->Notebook Setting and choose GPU:
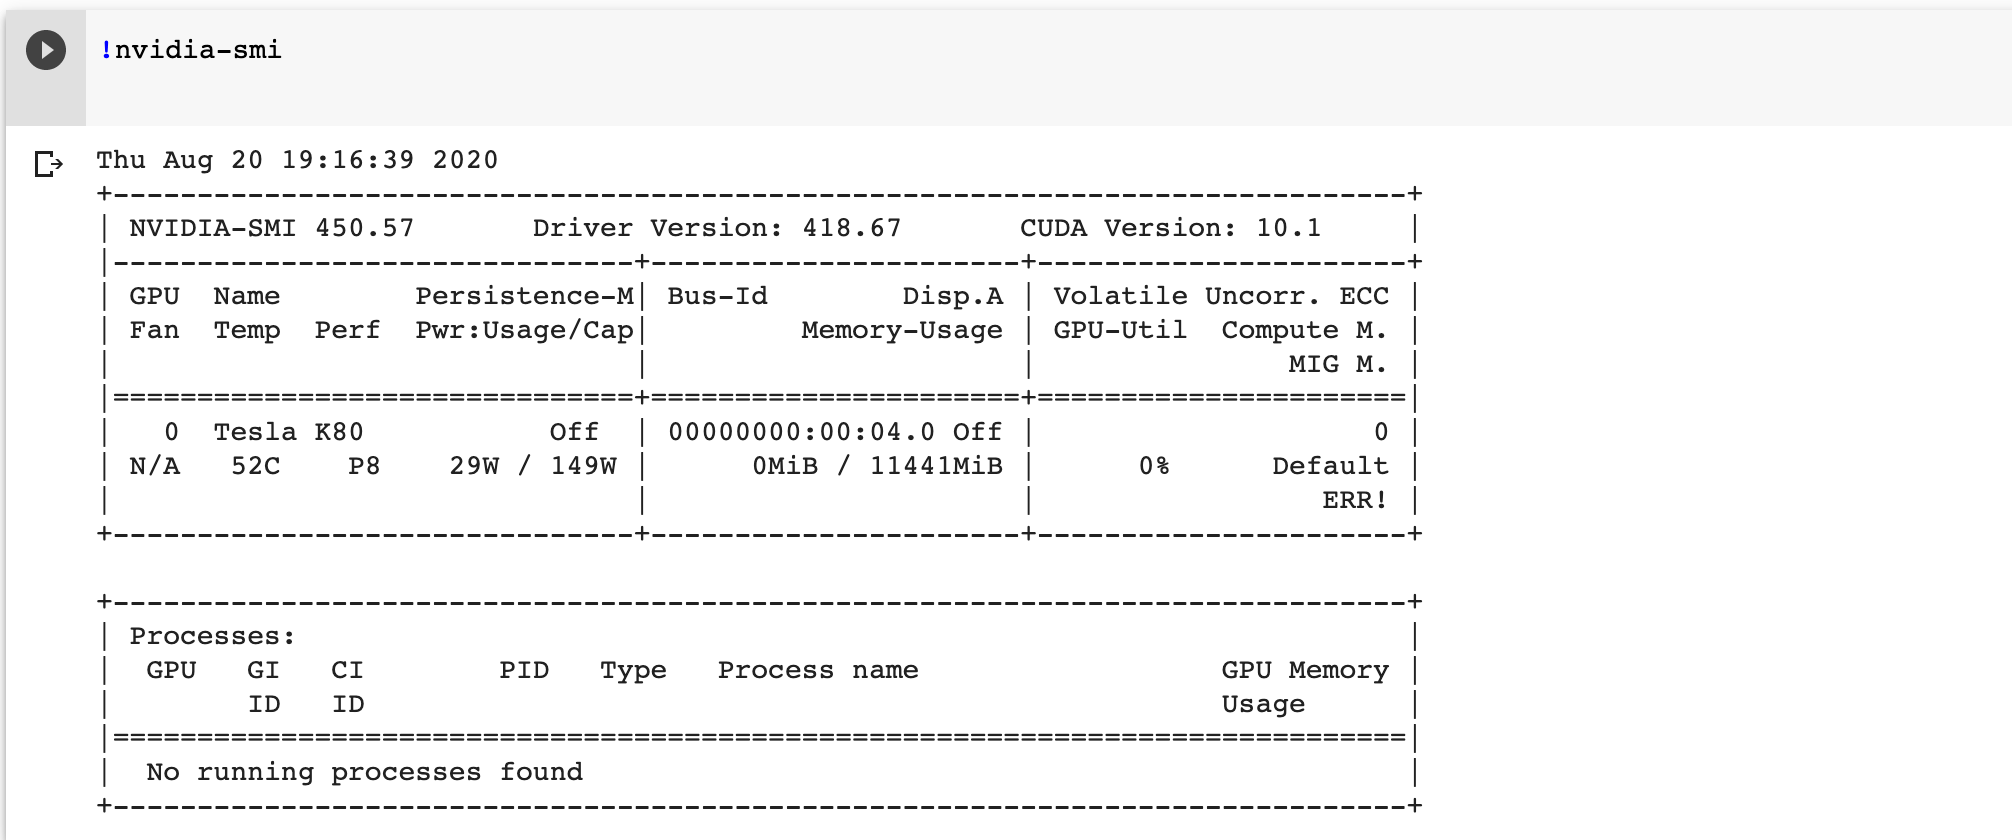
You can check your gpu status by adding a new cell by clicking the +code button at the top, typing !nvidia-smi into it and then running it:
In order to load data, you need to mount your Google Drive using following command. Note that you need to do this every time you open a .ipynb file with Colab.
import os
print(os.getcwd())
from google.colab import drive
drive.mount('/content/drive')

path = "/content/drive/My Drive/cs682/assignment1"
os.chdir(path)
print(os.getcwd())
You will see this:

Now your root dir is “/content/drive/My Drive/cs682/assignment1” and you can run the code in the .ipynb file.
Colab comes with most of the common packages. If you need to install or update a package (for example numpy), simply run:
!pip install numpy
To check on existing packages:
!pip list
Terminal commands are supported but with a slight change (add !):
ls -> !ls
nvidia-smi -> !nvidia-smi
cd dir -> %cd dir (cd need to add % which is special)
If you have any questions, you can refer to this tutorial.